Every electrical system tells a story through its diagrams. The single-line diagram maps how power reaches each corner of a building. The wiring diagram traces every conductor to its terminal. The schematic shows what the control logic is supposed to do. For field electricians working on systems they didn't install, these drawings are the difference between a methodical diagnosis and an expensive guess.
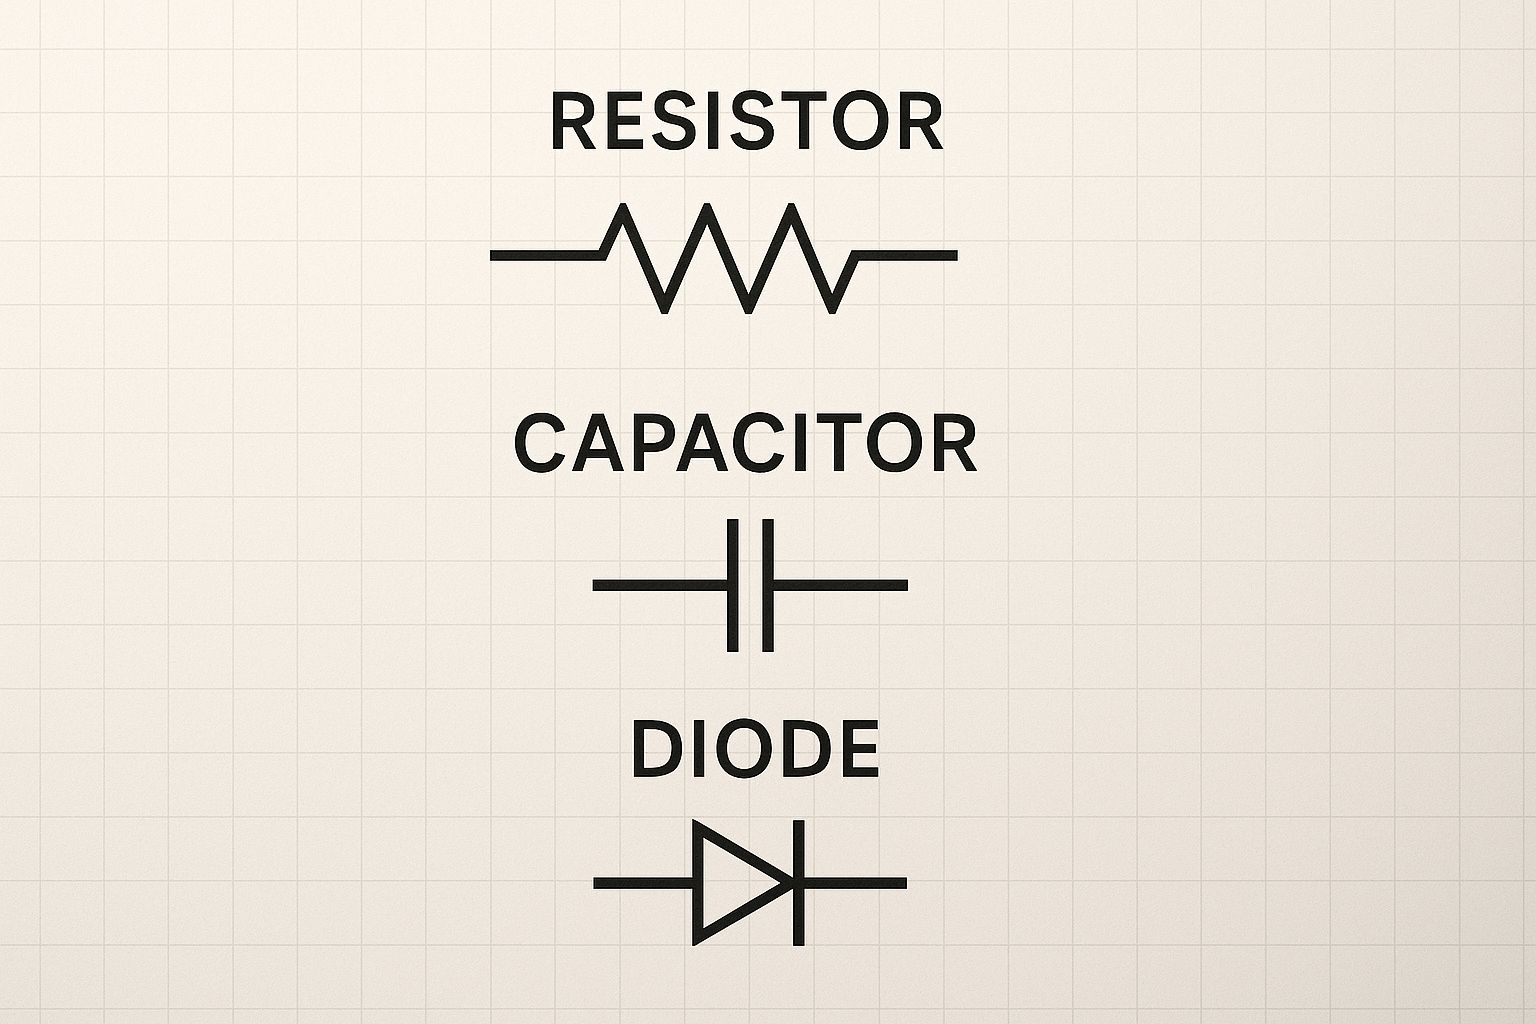
Most online guides to electrical diagrams teach the basics: what a resistor symbol looks like, how to read a simple LED circuit. That's fine for students and hobbyists, but it's not what working electricians need. This guide covers the diagram types you'll actually pull on commercial and residential service calls, how to read them under real job-site conditions, what to do when the drawings don't match the installed system, and how to turn your field findings into clean records that speed up billing and protect your business. If you're starting an electrician business or training new hires, this is the practical foundation they'll need from day one.

What electrical diagrams are and why they still matter in the field
Electrical diagrams are standardized visual maps that show how components in a circuit or system connect to each other. They use symbols governed by two main standards: IEC 60617, the international standard maintained by the International Electrotechnical Commission since 1906, and ANSI/NEMA, the standard set most common in North American commercial and industrial work. If you trained in the U.S., you probably learned ANSI symbols first. If you're working on imported equipment or in a facility built by an international contractor, you'll run into IEC notation.
Even experienced electricians reference diagrams regularly. You can't memorize every system you'll encounter, and a commercial HVAC control panel wired by one manufacturer looks nothing like the same capacity panel from a competitor. Diagrams matter beyond the immediate job, too:
- Insurance claims, code compliance inspections, and warranty disputes all depend on accurate documentation of what was installed and what was found during service.
- OSHA 1910.303 requires facilities with electrical systems at 50 volts or above to maintain single-line diagrams when employees perform maintenance on those systems.
- For building owners and facility managers, an up-to-date set of electrical drawings is a legal and operational requirement, not a nice-to-have.
Where confusion creeps in is at the manufacturer level. While IEC and ANSI provide the base symbol sets, individual equipment manufacturers often add their own notation for proprietary components, custom control sequences, or integrated modules. A variable frequency drive from one brand will use different terminal labels and internal schematic conventions than a competing model. Recognizing when you're looking at a standard symbol versus a manufacturer-specific one is a practical skill that comes with exposure to different equipment lines.
Five diagram types you'll actually reference on service calls
Not every diagram type matters equally in the field. Tutorials often spend time on block diagrams and pictorial representations, but those show up in textbooks more than in panel enclosures. The five types below are the ones you'll actually pull during commercial and residential service work.
1. Single-line diagrams
Single-line diagrams show power distribution in a simplified format, using one line to represent what might be a three-phase feed with multiple conductors. They're the first document you reach for when scoping a commercial electrical system because they map the path from the utility connection through transformers, switchgear, and distribution panels down to individual branch circuits. A single-line diagram tells you the system's architecture without burying you in wiring detail.
2. Wiring diagrams
Wiring diagrams go to the other extreme. They show every conductor, every terminal connection, and every wire color. When you're tracing a specific fault, like a contactor that won't pull in or a motor that only runs on two phases, the wiring diagram is the one you need. It tells you which wire connects terminal 3 on the contactor to terminal 7 on the overload relay, and what color that wire should be.
3. Schematic diagrams
Schematics sit between the single-line and the wiring diagram in terms of detail. They show the control logic of a system: what signals trigger what actions. HVAC control schematics, fire alarm panel diagrams, and motor starter circuits are all presented as schematics. They answer the question "what should happen when this switch closes?" rather than "where does this wire physically run?"
4. As-built drawings
As-built drawings record what was actually installed in a building. They start as the original design drawings and get marked up during construction to reflect changes made in the field. In theory, as-builts are the most accurate representation of the electrical system as it exists today. In practice, they're often the most outdated document in the building, because nobody updates them after the initial construction closeout.
5. Panel schedules
Panel schedules list every circuit breaker in a panel, its amperage rating, and what it feeds. They're the most-referenced document on any service call that involves a panel. When a facility manager calls about a tripped breaker, the panel schedule tells you which circuit is affected, what equipment is on that circuit, and what load the breaker is rated for. Understanding how to calculate electrical load helps you verify whether a breaker is appropriately sized for what's connected to it.
Choosing the right diagram for the job
Matching the diagram to the task saves time:
- Scoping a new system or understanding overall power distribution: start with the single-line.
- Troubleshooting a specific component failure or tracing a wire: go to the wiring diagram.
- Understanding a control sequence or verifying operational logic: pull the schematic.
- Figuring out what's actually installed in the building: check the as-builts.
- Answering a question about a specific breaker or circuit: the panel schedule is your answer.
Reading diagrams under real job-site conditions
Schematics and wiring diagrams follow a consistent visual grammar. Power typically flows from left to right and from top to bottom. The voltage source sits at the top or left side of the drawing, and the return path to ground or neutral appears at the bottom or right. Following this convention lets you trace the intended path of current from source through each component and back, which is the foundation of any troubleshooting process.
Junction rules
The junction conventions are straightforward but worth reinforcing because a misread costs time:
- Two lines cross without a dot at the intersection: not electrically connected.
- A solid dot appears where lines meet: those conductors share a connection.
- A wire terminates into another wire in a T-shape: always a connection, even without a dot.
Modern drawing conventions favor T-junctions over four-way crossings specifically to reduce ambiguity on busy schematics.
Reference designators
Reference designators are the labels next to each component on the drawing. They link the diagram to the physical hardware:
- K1, K2, K3: relays and contactors
- M1, M2: motors
- T1, T2: transformers
- OL1, OL2: overload relays
- CB1, CB2: circuit breakers
When you open a control panel and see a sticker labeled K3 on a contactor, you can find K3 on the schematic and trace every wire connected to it. This cross-referencing between paper and panel is the core skill of electrical troubleshooting.
Symbols that matter in the field
Symbol recognition for field work should focus on the components you'll encounter in commercial and industrial panels: contactors, control relays, thermal overload relays, disconnect switches, transformers, variable frequency drives, and pushbutton stations. If you're comfortable with a standard motor starter circuit, including the contactor, overload, start/stop pushbuttons, and auxiliary contacts, you can read most commercial control schematics by extension. For a deeper look at diagnosing faults once you can read the drawing, see our guide on how to troubleshoot electrical problems.
Always verify what you read on the diagram against what you see in the panel. Check that wire numbers match the actual conductor labels. Confirm that the component at position K2 is actually a relay and not a replacement someone swapped in without updating the documentation. Discrepancies between the drawing and the installation are common, and finding them early prevents misdiagnosis.
When the drawings don't match what's installed
As-built drawings go stale the moment someone makes a change and doesn't update the paperwork. The most common causes:
- Emergency repairs where the replacement part has different terminal configurations and the technician is focused on restoring service, not redlining drawings.
- Tenant improvements in commercial buildings that add circuits, relocate panels, and change loads without any drawing updates.
- Previous contractors who left behind work that was never documented at all.
How to spot discrepancies
Start with the panel schedule and work outward:
- Compare what each breaker is labeled to feed against what's actually connected.
- Check for unlabeled breakers, tandem breakers that weren't in the original design, and circuits that have been re-routed or abandoned in place.
- Trace any circuit that behaves unexpectedly back to the panel and compare against the drawing.
Why documenting mismatches matters
When you find a mismatch, document it. Take a photo of the panel with the schedule visible, note the discrepancy in your service record, and flag it for the building owner or facility manager. Having a thorough electrical inspection checklist helps standardize what you look for and record. This protects you in two ways:
- The next technician who works on this system gets accurate information instead of relying on outdated drawings.
- Your record of identifying and reporting the discrepancy shifts liability away from your company if something goes wrong after your visit.
OSHA 1910.303 reinforces this at the regulatory level. Facilities with systems at 50 volts or above where employees perform maintenance are required to maintain accurate single-line diagrams. When those diagrams are wrong, the facility is out of compliance, and anyone working on the system is doing so without reliable safety information. Keeping an up-to-date electrical safety checklist alongside your documentation process helps ensure both your crew and your clients stay protected.
Turning field findings into clean documentation
The gap between what electricians know they should document and what actually makes it back to the office is one of the most persistent problems in field service. All of the following have value for billing, future service calls, and liability protection:
- Panel photos with the circuit directory visible
- Circuit changes or additions made during the visit
- Load readings and test results
- As-built markups showing what doesn't match the drawings
- Inspection findings and recommendations
But between finishing one job and driving to the next, writing up detailed notes falls off the priority list. By the end of the day, the specifics blur together.
What gets lost is recoverable if the documentation happens in the moment rather than hours later. The most useful field records combine a photo of what you're looking at with a verbal description of what you found and what you did about it. Converting voice notes to text on the spot means a quick spoken summary from the truck captures details that would otherwise disappear by evening.
Nora, the AI assistant from ResQ, is built around this exact workflow. Technicians send photos, voice notes, or text messages to Nora through WhatsApp directly from the job site. Nora transcribes voice messages, tags the information to the right job, and formats it into clean notes that appear instantly in the office portal. Nobody has to type anything up after the fact, and nobody has to chase a technician for missing details. The office team gets structured field service reports they can use for invoicing, follow-ups, and building a service history for each customer. You can see how it works at ResQ.
The downstream value of consistent documentation adds up quickly:
- Accurate job records speed up billing because the office isn't guessing about what was done or how long it took.
- Service history on a specific panel or piece of equipment makes the next visit faster because the technician knows what was found last time.
- Time-stamped records with photos and notes are far stronger than memory when a warranty dispute or insurance claim surfaces months later.

Where to find electrical diagrams when you need them
The fastest path to a diagram for a specific piece of equipment starts with the data plate on the unit itself. The model and serial number printed there will get you to the manufacturer's technical documentation. Beyond that:
- Manufacturer websites and tech support hotlines are the primary source for equipment-level wiring diagrams and schematics.
- Distributor portals from companies like Grainger, Rexel, and Graybar often host product documentation alongside their parts catalogs. If you're ordering a replacement contactor or motor starter, the wiring diagram is usually on the same product page.
- Building-level documentation like single-line diagrams and as-built drawings is typically stored with the original construction close-out package. The building owner or property management company is the first point of contact.
- Your own reference library pays off over time. Save diagrams for equipment you service regularly to your phone or a shared team folder. Common motor starter configurations, standard HVAC control sequences, and typical fire alarm panel wiring all come up repeatedly. Having them accessible on your phone means you're not searching from scratch every time you open a familiar panel.
Diagrams are only as useful as your documentation of what's changed
Reading an electrical diagram is a skill most electricians pick up early in their careers. The harder part is what happens after you read it: recognizing where the drawing diverges from reality, capturing what you found, and making sure that information reaches the people who need it. The diagram on paper is a snapshot of the system at one point in time. Your field documentation is what keeps it current.
Every panel photo, every voice note about a tripped breaker, every markup showing a circuit that doesn't match the schedule builds a record that makes the next service call faster, the next invoice more accurate, and the next dispute easier to resolve. The electricians and contractors who treat documentation as part of the job, rather than an afterthought, are the ones whose businesses run tighter and grow faster.